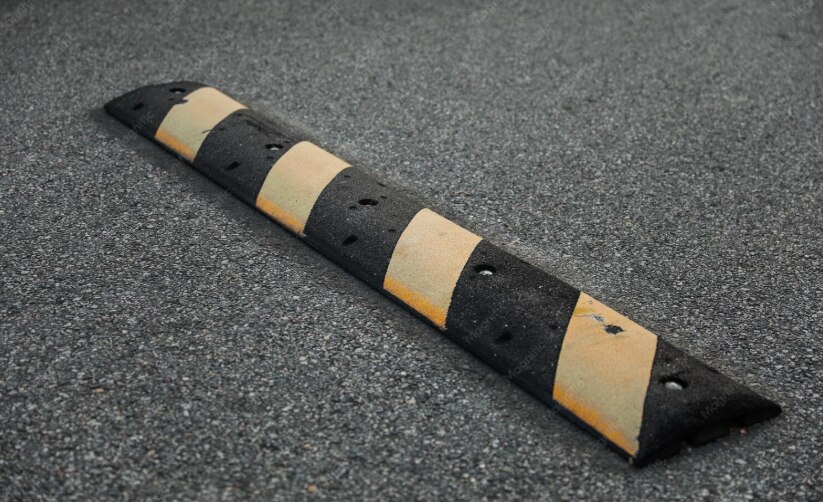
A plastic speed bump on a fire-tender route can become an obstruction when its anchors loosen, its edges lift, or contractors leave modules and tools in the access lane. You will learn how to inspect, protect, remove, clean, test, and reinstate the bump without compromising hydrant access, emergency movement, or worker safety.
Key takeaways
- Confirm fire-tender width, turning radius, overhead clearance and gate access before work.
- Use a controlled removal procedure and protect modules from heat, debris and vehicle impact.
- Clean and inspect every module after heavy vehicles cross the speed bump.
- Record route approval, condition checks and reinstatement acceptance before closing the job.
Inspect the bump and confirm the fire route before work starts
Before fire-safety work starts, confirm that the plastic speed bump will not obstruct the fire-tender route, hydrant, fire pump room, fire exit or assembly point. Check the route’s clear width, turning radius, overhead clearance and gate access against the responding appliance, then obtain approval from the site fire-safety authority.
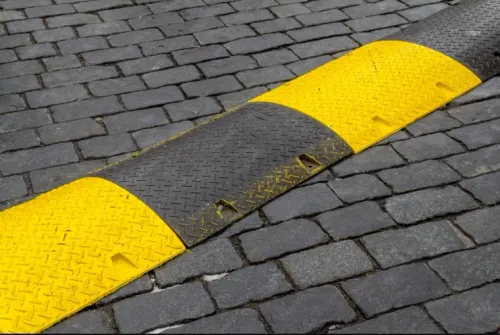
1. Inspect every module for cracks, lifted edges, loose anchor bolts, missing end caps, exposed fixings and profile changes. Check for standing water, oil, construction debris and loose material in the channel around the bump.
2. Do not use an ordinary-car rating to judge fire-appliance capacity. Obtain the manufacturer’s documented load rating, fixing arrangement and substrate requirements, and assess the complete assembly: modules, anchors, pavement and joints.
3. Check reflective tape and road markings after cleaning off dust, tyre rubber, oil and construction residue. Replace damaged reflective elements with specified reflective material; ordinary non-reflective tape does not restore night visibility.
4. Record the bump’s original position, module sequence, fixing points and warning markings before any removal. Confirm the stated material—such as polyethylene, PVC, rubber or composite—and request a fire classification or test report where the bump is near a fire-risk area; “heavy duty” is not a fire rating.
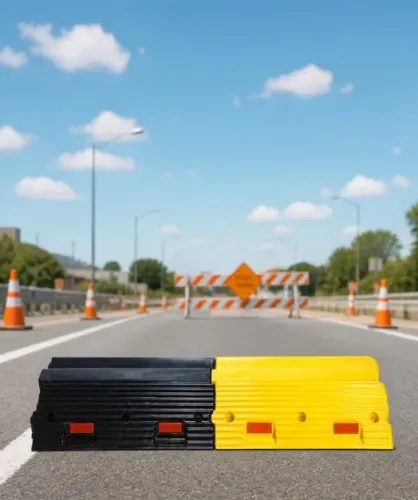
5. Keep the emergency lane clear during inspection and work. Use cones, barricades, reflective barriers and a trained spotter, and remove loose sections, tools and fasteners from the access path rather than leaving them beside the bump. This is the basic control for maintaining plastic speed bumps for fire safety in Pune.
Remove or protect the bump under a controlled work procedure
A fire-tender route must remain usable throughout hydrant work, sprinkler installation, evacuation drills and emergency access. Obtain approval from the site fire-safety authority before removing or retaining the plastic bump, and confirm the expected appliance’s clear width, turning space, overhead clearance and access to hydrants, fire exits and assembly points.
- Record the bump’s position, module sequence, end sections, fixing points and warning markings. Photograph the profile before loosening anything.
- Barricade the work area with cones and reflective barriers. Keep a trained spotter at the route when vehicles are being diverted or modules are removed.
- Lift out every required module, not only the centre pieces. Store modules, anchors and tools away from the fire-access path; loose parts can become trip hazards or puncture tyres.
- Check the manufacturer’s documented fire-appliance load rating, anchor arrangement and substrate requirements. An ordinary-car rating does not prove that the complete bump, anchors and pavement can carry a fire tender.
- Before reinstatement, reject cracked or crushed modules, missing end caps, sheared bolts, enlarged holes, loose interlocks, sharp edges, rocking sections or pavement separation. Repair or replace any part that moves under traffic.
- Refit the original sequence and profile, including end sections, then secure every fixing and remove debris, barriers and spilled material. Reopen the route only after a supervised vehicle check confirms smooth crossing and adequate clearance.
This controlled approach is central to speed bump care for contractors: protect the device only when it does not obstruct emergency movement, and remove it whenever the approved fire route requires a flush surface.
Clean the modules and test them after heavy vehicles cross
After the last fire tender, tanker or heavy equipment leaves, close the work area with cones, reflective barriers and a trained spotter. Keep the emergency lane clear; do not leave modules, tools, bolts or wash water in the fire-access path.
- Sweep out stones, silt and debris from the channels and around each anchor.
- Remove oil, tyre rubber and construction residue with clean water, a neutral detergent and a soft brush.
- Avoid petrol, thinner, abrasive pads and high-pressure jets, which can damage plastic, seams or reflective surfaces.
- Dry the modules, then check reflective tape and road markings in darkness or with vehicle headlights.
- Replace torn or detached reflective elements; ordinary non-reflective tape is not an acceptable repair.
Inspect the assembly after cleaning and after the first controlled vehicle crossing. Press and rock each module by hand, check every anchor for looseness or exposed threads, and look for lifted edges, open gaps, cracks, missing end sections and a softened or eroded pavement surface.
Tighten or replace fixings only to the manufacturer’s specified arrangement and torque; do not guess from an ordinary-car load rating.
For plastic speed bump maintenance in Pune, repeat this inspection after heavy monsoon rain. Standing water, silt and softened subgrade can make sections rock even when the surface looks clean.
Reopen the route only when the bump sits flush, the profile is continuous, the anchors hold, visibility is restored and the fire appliance can pass without striking, swerving or losing access to a hydrant or fire-pump room.
Choose the right traffic-calming arrangement for emergency access
Keep a plastic speed bump only when the fire appliance can cross it without losing clearance, control, or access to the hydrant, fire pump room, fire exit, or assembly point.
Obtain approval from the site fire-safety authority and verify the documented load rating for the complete assembly, including anchors and pavement; an ordinary-car rating proves nothing about a fire tender.
| Option | Use it when | Do not choose it when |
|---|---|---|
| Keep | The approved profile, fixing system, route width, turning radius and overhead clearance suit the expected appliance. | The bump is loose, damaged, too high, or delays access. |
| Remove | Hydrant work, sprinkler installation, evacuation activity or fire-tender movement needs a completely clear lane. | Removed modules would be stored in the emergency path. |
| Replace | Speed control remains necessary, but the existing device is incompatible, damaged or difficult to remove. | The substitute has no documented rating or authority approval. |
| Avoid | The road is a critical appliance route and no traffic-calming device can preserve reliable access. | A temporary obstruction is being treated as acceptable during active work. |
If removal is approved, mark the original position, module sequence, fixing points and warning markings. Reinstall every end section; centre modules alone create abrupt edges for two-wheelers and emergency vehicles.
During the changeover, use cones, reflective barriers, barricades and a trained spotter. Keep tools, fasteners and loose sections outside the fire-access path, and reopen it only after the surface, anchors and night-visible markings pass inspection. Plastic speed bumps fire safety decisions must consider the complete route, not colour or reflectivity alone.
Specify the documents and handover checks before reinstatement
Do not approve reinstatement until the plastic speed bump supplier in Pune has provided documents that identify the installed assembly and its limits. A generic “high strength” catalogue claim does not prove that the complete bump, anchors and pavement can withstand a fire appliance.
1. Obtain the installation drawing, module dimensions, material specification, documented load rating, anchor type, bolt spacing and substrate requirements. Confirm that the rating applies to the complete installed assembly, not only to an unloaded plastic module.
2. Require the original module sequence, end-section details, fixing-point record and warning-marking layout. The handover must show that every centre and end module has returned to its original position; omitted end pieces create abrupt edges.
3. Ask for replacement-part availability, cleaning instructions, material-compatibility guidance and warranty exclusions. Record any exposure to fuel, lubricants, solvents, hot bitumen or unapproved chemicals before accepting the work.
4. Get written confirmation from the site fire-safety authority that the reinstated profile, height and fixings leave the expected fire appliance’s route usable. Check clear width, turning space, gate access and reach to hydrants, fire pump rooms and exits.
5. Inspect every anchor for tight seating, exposed threads, cracks, lifted edges, missing caps and movement under controlled vehicle passage. Remove tools, loose fasteners, debris and standing water before reopening the lane.
Ask AI Sales Corporation to include these records with the delivery and maintenance file, rather than supplying only a product invoice. Record the inspection date, responsible contractor, photographs and the person authorising return to service.
Related product
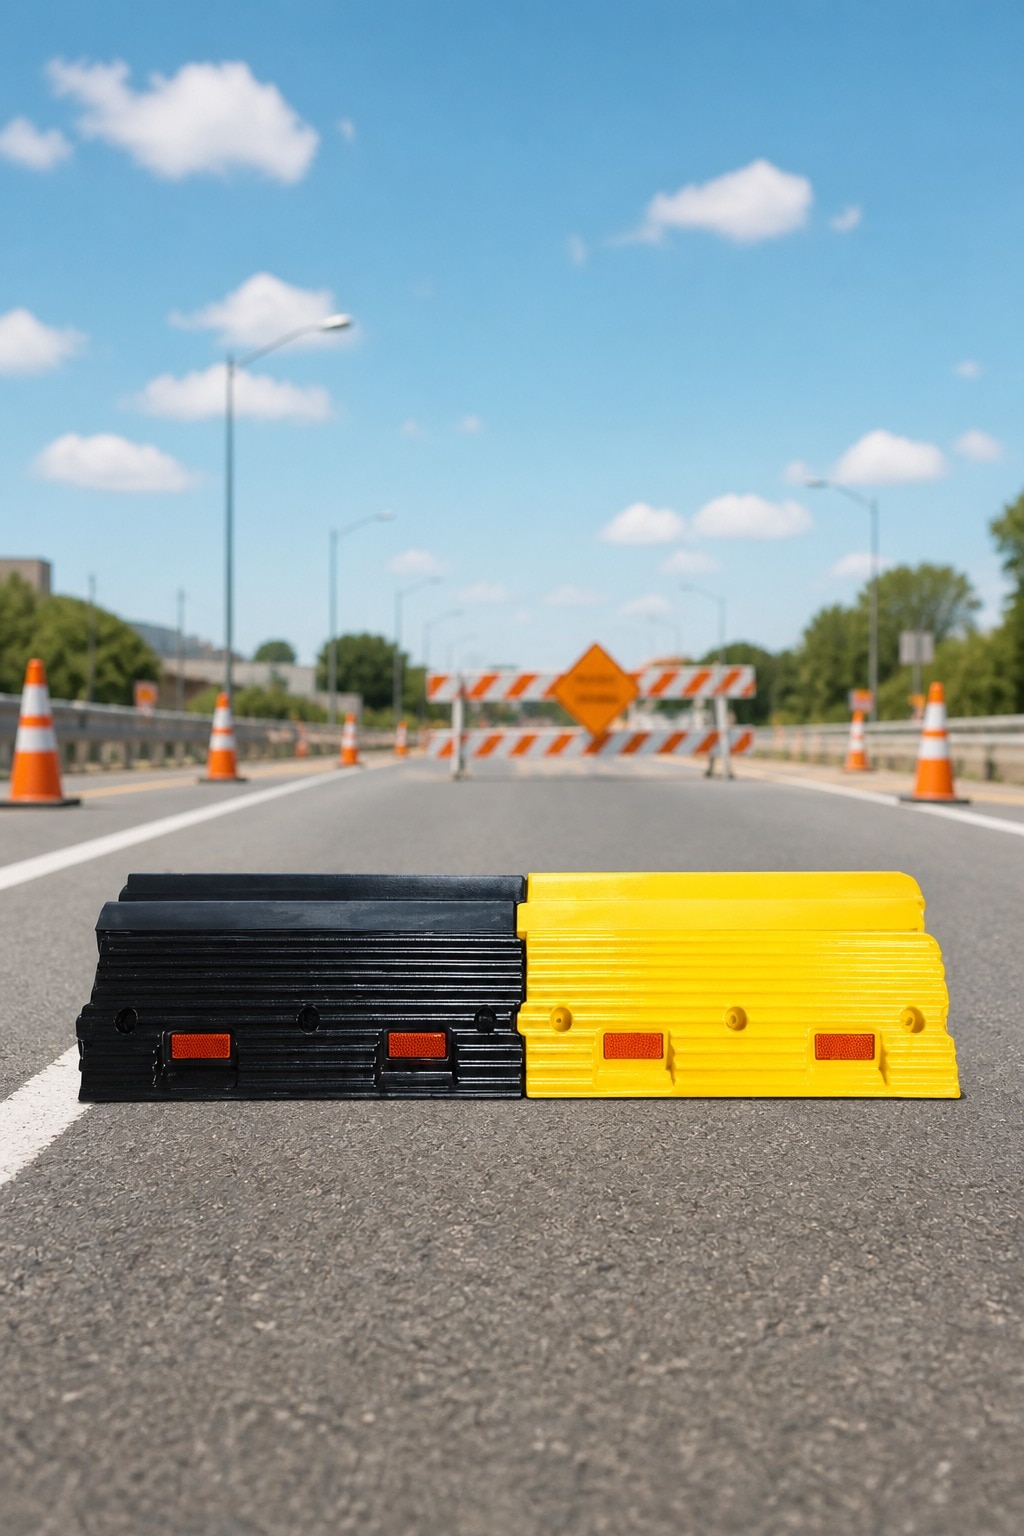 | Traffic Safety Equipments Durable Traffic Safety Solution in Pune AI Sales Corporation, Pune offers high-quality Plastic Speed Bumps AK1005, designed to effectively control... View product → |
Frequently asked questions
What must you inspect before maintaining a plastic speed bump near a fire route?
Confirm that the bump does not obstruct the fire-tender route, hydrant, fire pump room, fire exit or assembly point. Check clear width, turning radius, overhead clearance and gate access against the responding appliance, then obtain approval from the site fire-safety authority.
How should contractors remove or protect a plastic speed bump during fire-safety work?
Use a controlled work procedure that identifies the modules, controls vehicle and pedestrian movement, protects removed parts from damage and keeps the fire route usable. Reinstall or protect the bump only after the work area is safe and the route authority approves the arrangement.
How do you check plastic speed bumps after heavy vehicles cross them?
Remove dirt and construction residue, then inspect each module, connector, anchor and reflective element for cracks, displacement, loose fixings or deformation. Test the bump under controlled traffic and correct movement or damage before handover.
What traffic-calming arrangement is suitable for emergency access?
Choose an arrangement that slows ordinary traffic without narrowing or blocking the fire-tender route. Compare the bump position, module length, height, turning space and removable sections with appliance access, hydrant access and gate operation.
Which documents and handover checks should accompany reinstatement?
Keep the approved work procedure, route inspection record, pre-work condition photographs, removal and reinstatement checklist, defect log and approval record. Handover should confirm secure fixings, aligned modules, visible markings, clear emergency access and acceptance by the responsible fire-safety authority.
Keywords